Add CAMS app as an enterprise application in Azure AD
This article is designed for IT administrators and technical users who are responsible for managing SSO (Single Sign-On) access within their organisation. It explains the process for ensuring that users can access the CAMS portal by being part of the correct SSO group and guides in resolving access issues.
Overview
CAMS uses Single Sign-On (SSO) authentication to simplify and secure access to the platform. To ensure users can log in and access CAMS, they must be part of the main company SSO <CAMS app> group. The group name may vary within different organisations, but it is essential that admins assign users to this group for proper access.
If users experience login issues, it's typically because they have not been added to the <CAMS app> group. In such cases, users must reach out to their admins, who can then manage the group membership via the company's SSO platform.
-
From CAMS IT administrator (input to this documentation): These two variables will be sent in separate, securely encrypted emails to the client’s IT administrator.
-
<CAMS app Identifier> or Identifier (Entity ID): urn:amazon:cognito:sp:<UserPoolID>
-
<CAMS app Reply URL> or Reply URL (Assertion Consumer Service URL): https://<DomainPrefix>.auth.<AWS-region>.amazoncognito.com/saml2/idpresponse
-
-
From Client (output from this documentation): After configuring this service provider in Azure AD, the client should send the following two variables to the CAMS IT administrator.
-
App Federation Metadata Url
-
Claim name of <email address>
-
Step 01: Create a new enterprise application in Azure AD:
-
Log in to the Azure Portal.
-
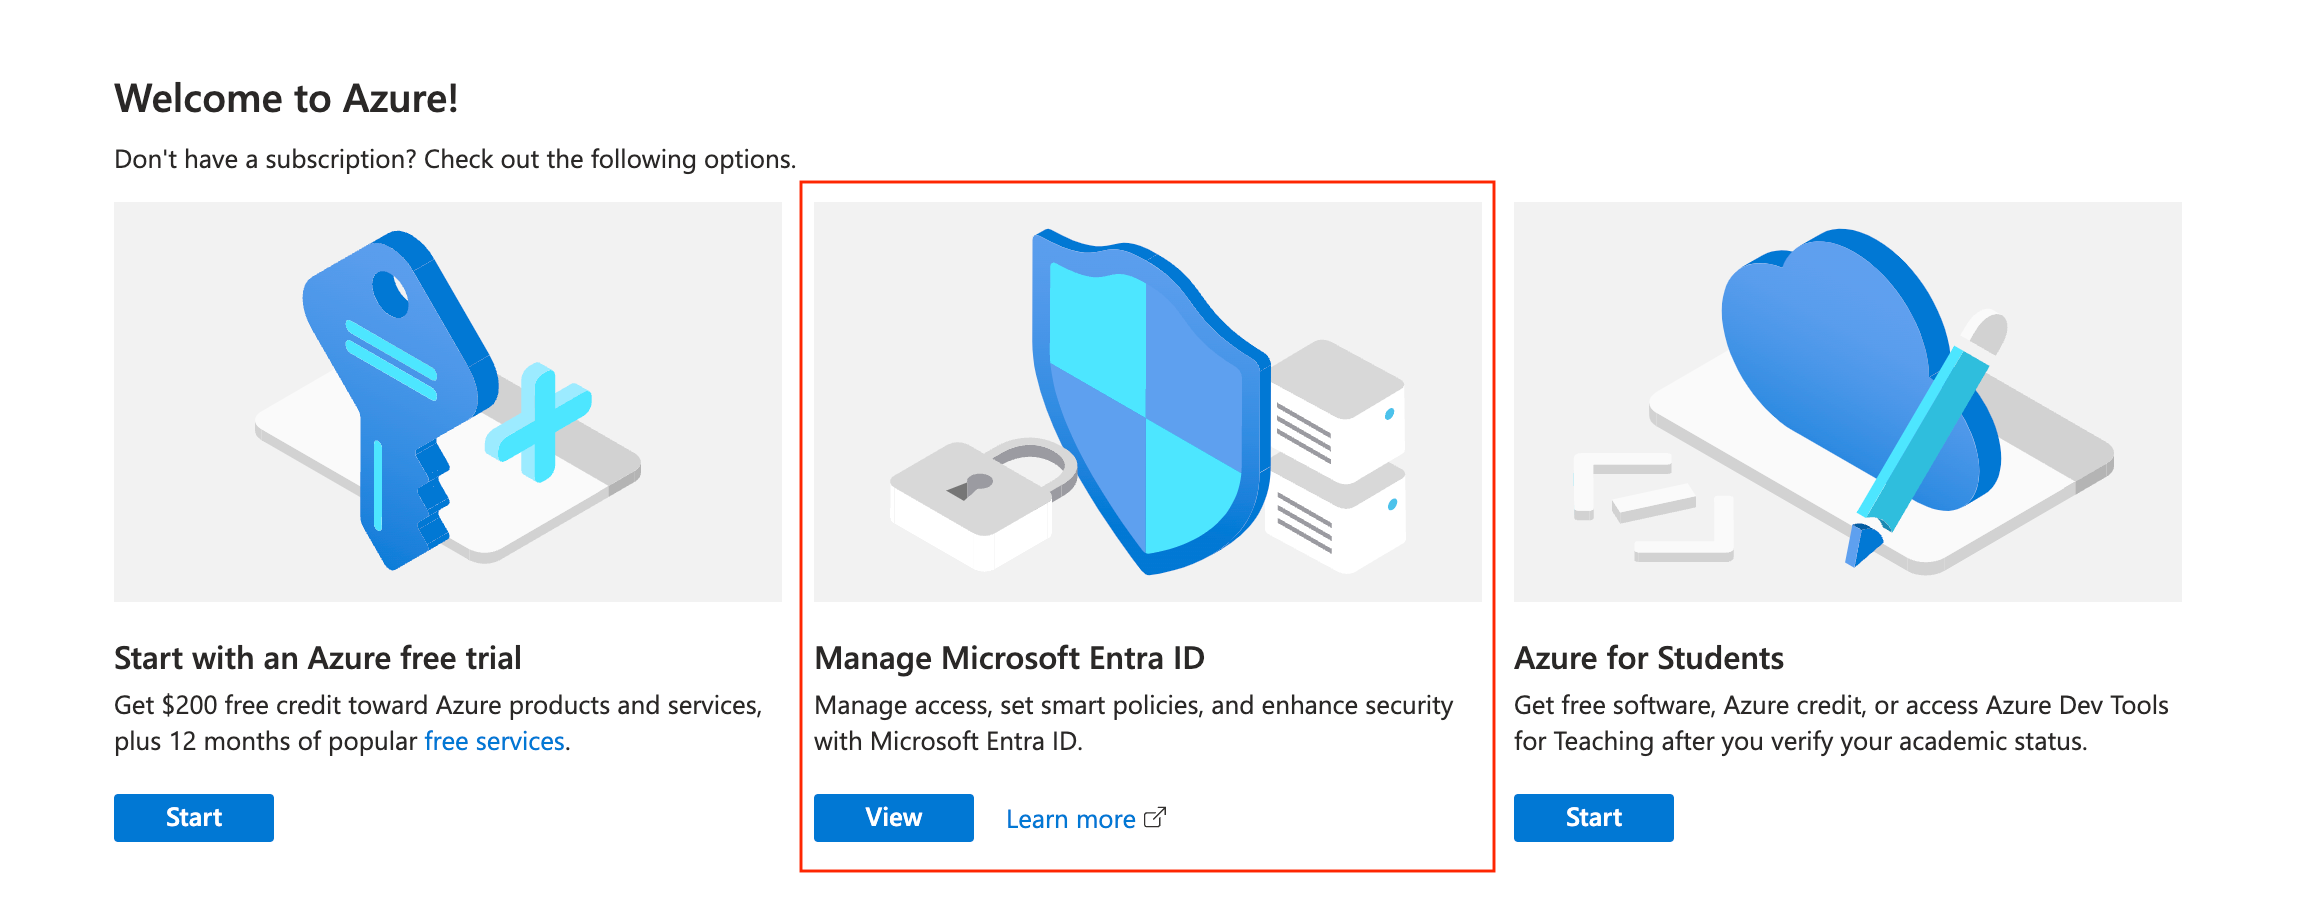
In the Azure Home Page, choose Manage Microsoft Entra ID.
-
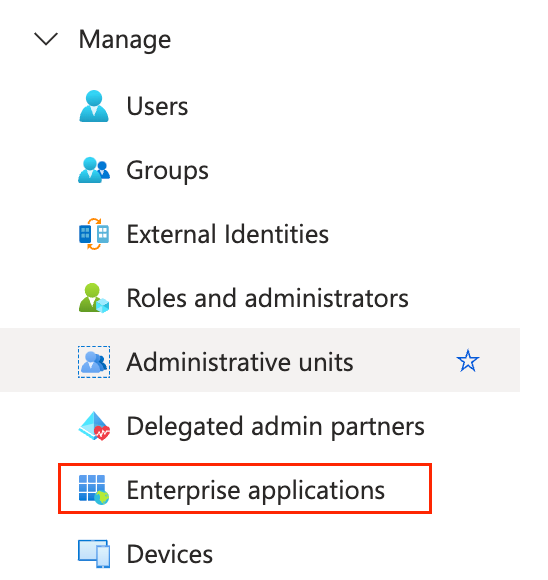
In the left sidebar, choose Manage → Enterprise applications.
-
Choose New application.
-
On the Browse Microsoft Entra Gallery page, choose Create your own application.

-
Under What’s the name of your app?, enter a name for the CAMS Cognito application and select Integrate any other application you don’t find in the gallery (Non-gallery), as shown in Figure 1.3. Choose Create.

After creating application, it should redirect to the Overview page for the newly added application.
Step 02: To set up Single Sign-On using SAML
-
On the Getting started page, in the Set up single sign on tile, choose Get started, as shown in Figure 2.1.

-
On the next screen, select SAML.
-
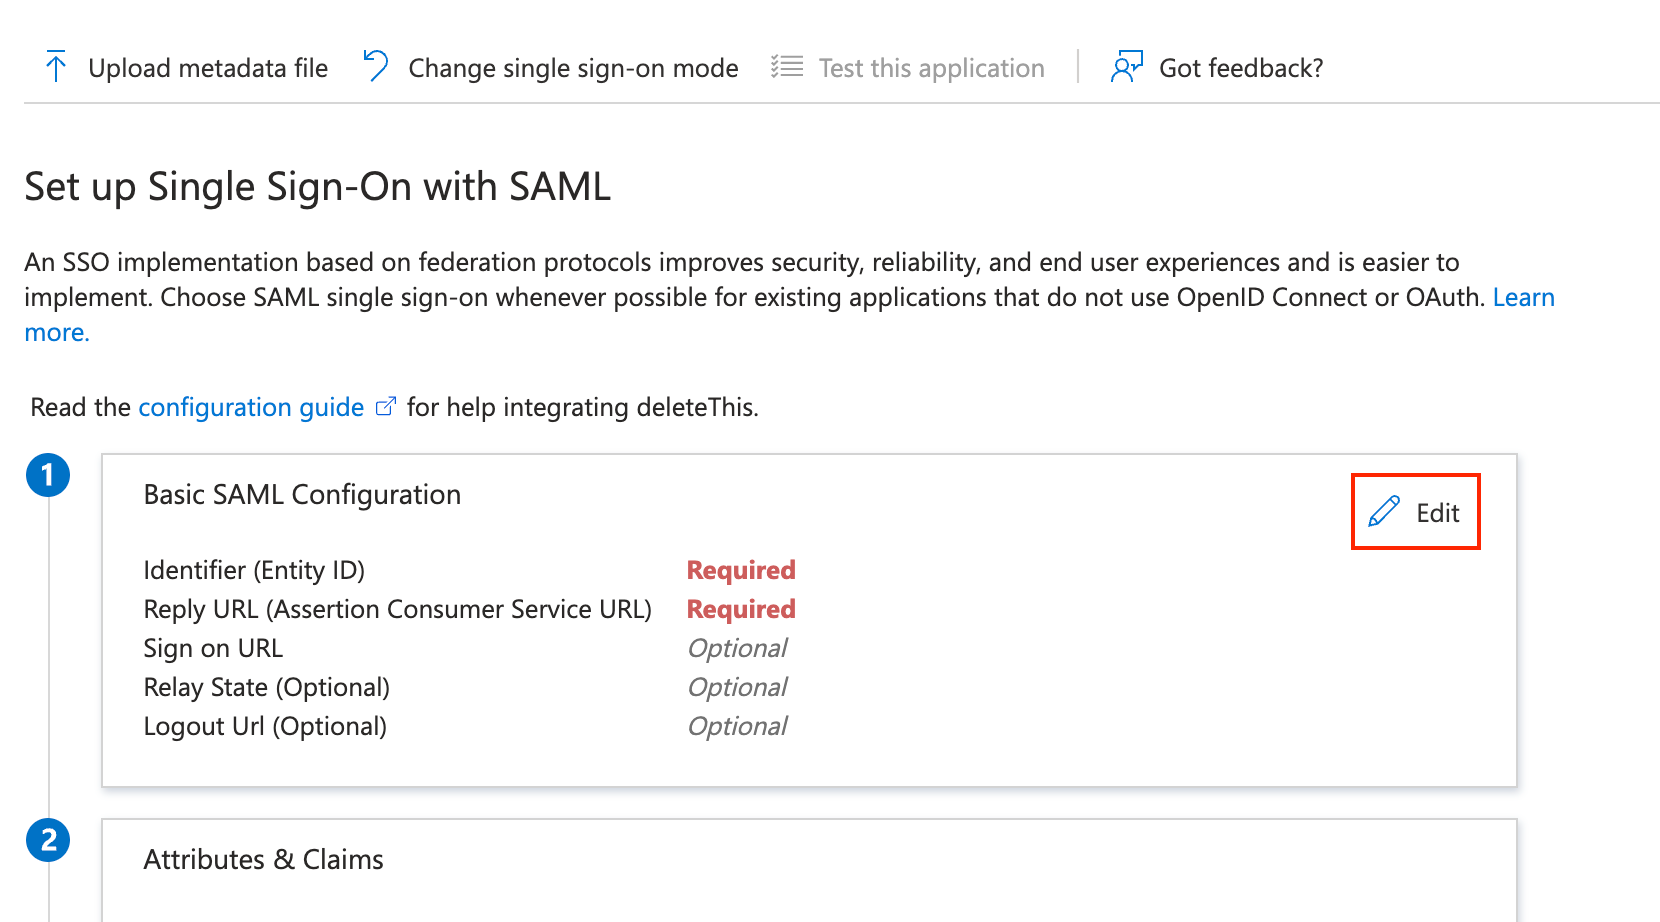
In the middle pane under Set up Single Sign-On with SAML, in the Basic SAML Configuration section, choose the edit icon.
-
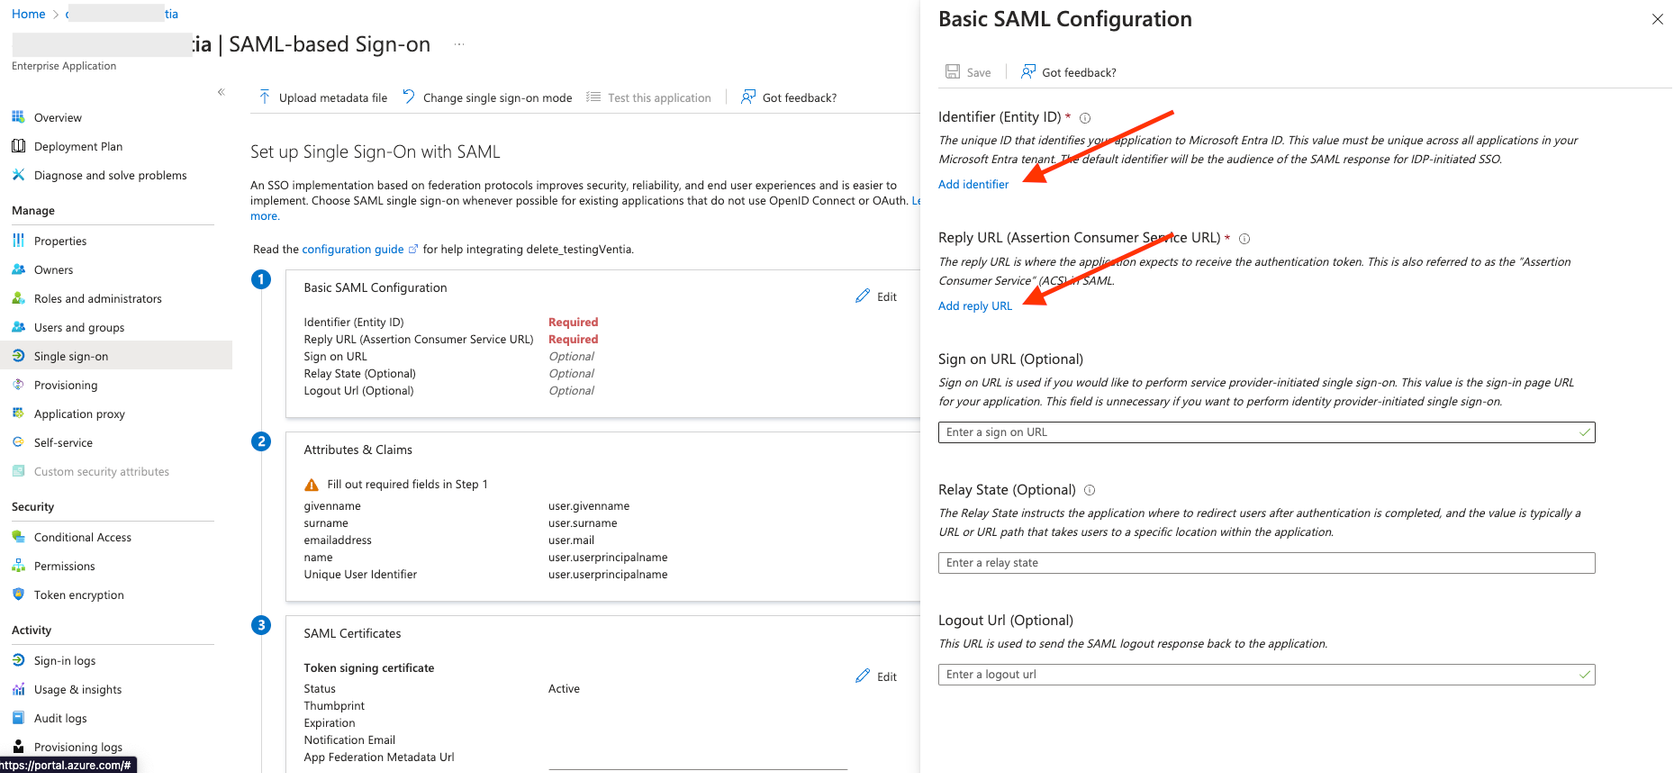
In the right pane under Basic SAML Configuration, select Add identifier button in Identifier ID (Entity ID) section and paste the <CAMS app Identifier> (this will be provided separately).
-
In the Reply URL (Assertion Consumer Service URL) section, select Add reply URL button and paste the <CAMS app Reply URL> (this will be provided separately), as shown in Figure 2.3.
-
Choose Save.
-
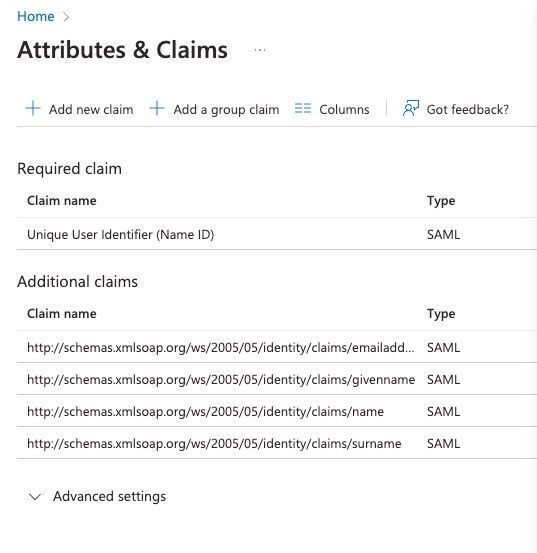
In the middle pane under Set up Single Sign-On with SAML, in the Attributes & Claims section, choose Edit.

-
In a text editor, note down the Claim name of <email address> under Additional claims, as shown in Figure 2.5. You’ll need to send this to the CAMS team.
-
Close the Attributes & Claims screen.
-
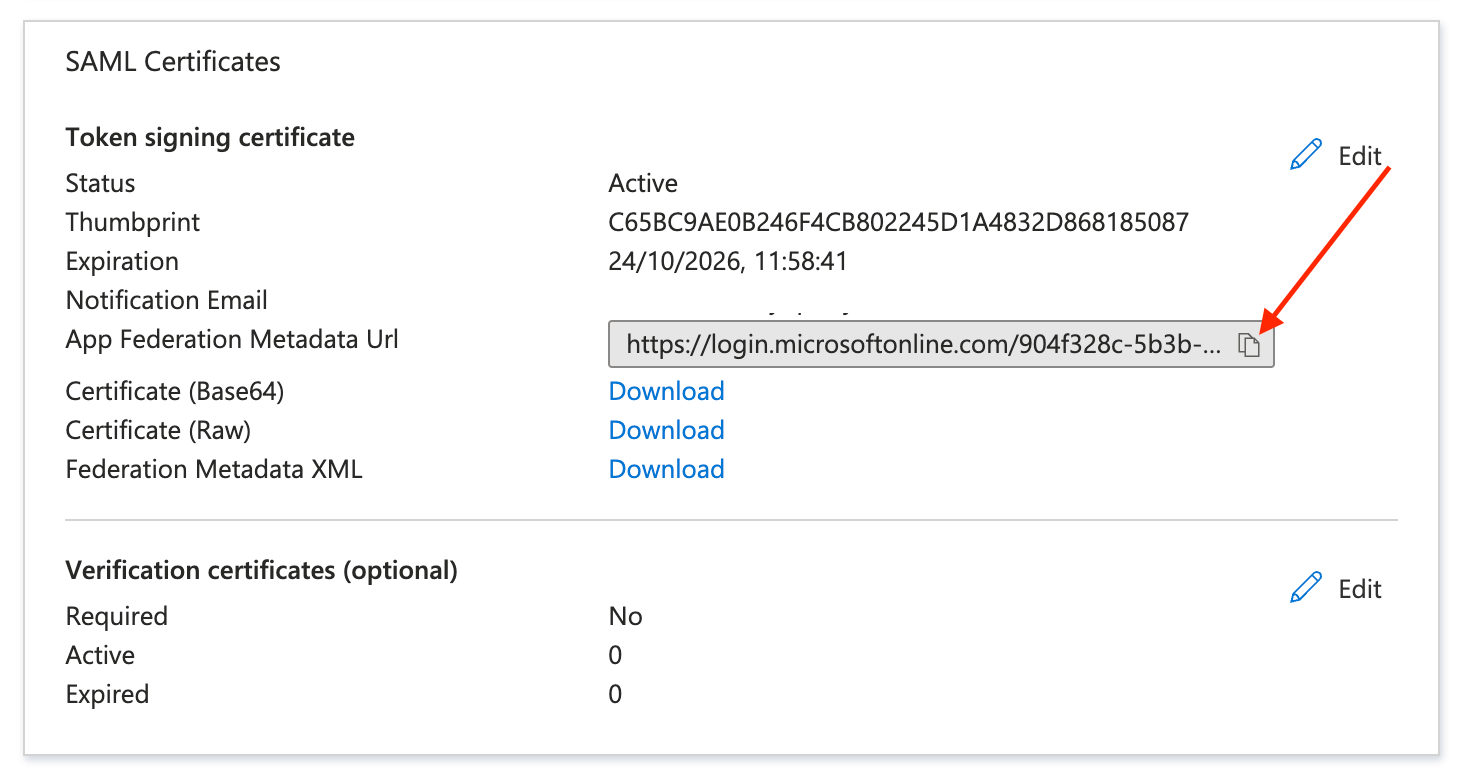
Scroll down to the SAML Certificates section, and copy the App Federation Metadata Url by choosing the copy into clipboard icon (highlighted with red arrow in Figure 5). Keep this URL in a text editor, as you’ll need to send it to the CAMS team.
Step 03: Add users to the CAMS application
Assign selected users to the CAMS Azure AD enterprise app
For access to selected users, it is necessary to add users to the enterprise application that has been created.
-
To assign users to the application, navigate to Azure Home Page >> Manage Microsoft Entra ID >> Enterprise applications and select the app that was created.

Figure 3.1
2. Then select Assign Users and Groups (Figure 3.1) and click Add User/group (Figure 3.2).

3. Select the users that should be assigned.


Note on Access Control for CAMS web/mobile:
Only selected users will be granted access to the CAMS application. Even if a user has been granted access via the client’s Identity Provider (IdP), they will not be able to access the CAMS web/mobile portal unless their user account has been explicitly created by the CAMS Organisation Admin via the CAMS organisation admin web interface.
This ensures a controlled access mechanism and enforces proper user provisioning through CAMS’s internal user management workflow.
Related to